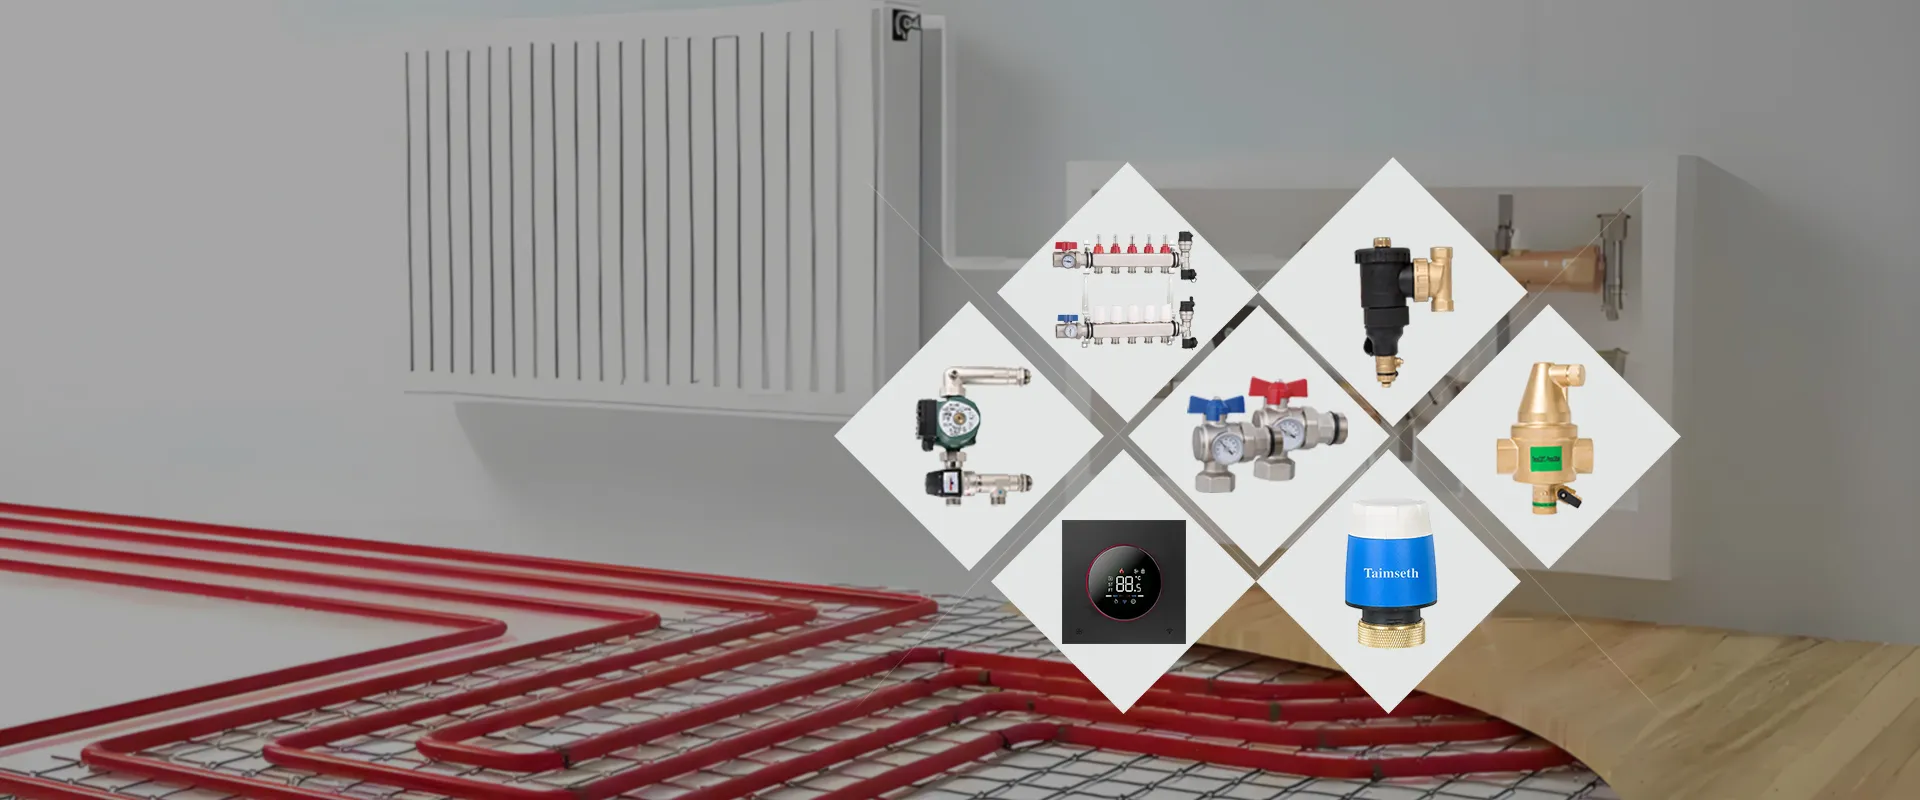
Struggling with inefficient HVAC manifolds can lead to uneven heating, higher energy costs, and operational downtime—our step-by-step guide ensures smooth, efficient installation.
Proper manifold installation in commercial buildings is critical for optimal HVAC system performance. This guide covers layout planning, equipment selection, pipe connections, and balancing techniques to ensure energy efficiency, reliability, and compliance with industry standards, helping facility managers prevent costly errors and maintain consistent comfort across all zones.
Mastering manifold installation ensures smooth operation and long-term system efficiency in your commercial building.
Step 1: Planning the Manifold Layout
A well-designed manifold layout is the foundation of efficient HVAC operation. Begin by analyzing the building’s floor plan, zoning requirements, and pipe routing options. Identify the main supply and return lines, ensuring minimal distance to individual terminal units. Proper spacing and accessibility for future maintenance are crucial to avoid disruptions and maintain performance.
Step 2: Selecting the Right Manifold
Choose a manifold system compatible with your building’s HVAC specifications. Consider materials, number of ports, pressure ratings, and compatibility with heating/cooling mediums. Stainless steel and brass options are common for durability and corrosion resistance. Ensure the manifold supports desired flow rates and allows for precise balancing. High-quality manifolds reduce leak risks and enhance system longevity.
Step 3: Preparing the Installation Site
Clear the designated manifold location of obstructions and ensure a level mounting surface. Install brackets or support structures as needed to secure the manifold. Confirm pipe entry and exit points align with the system design. Adequate space around the manifold is essential for maintenance, valve operation, and future upgrades, avoiding operational complications.
Step 4: Connecting Pipes and Valves
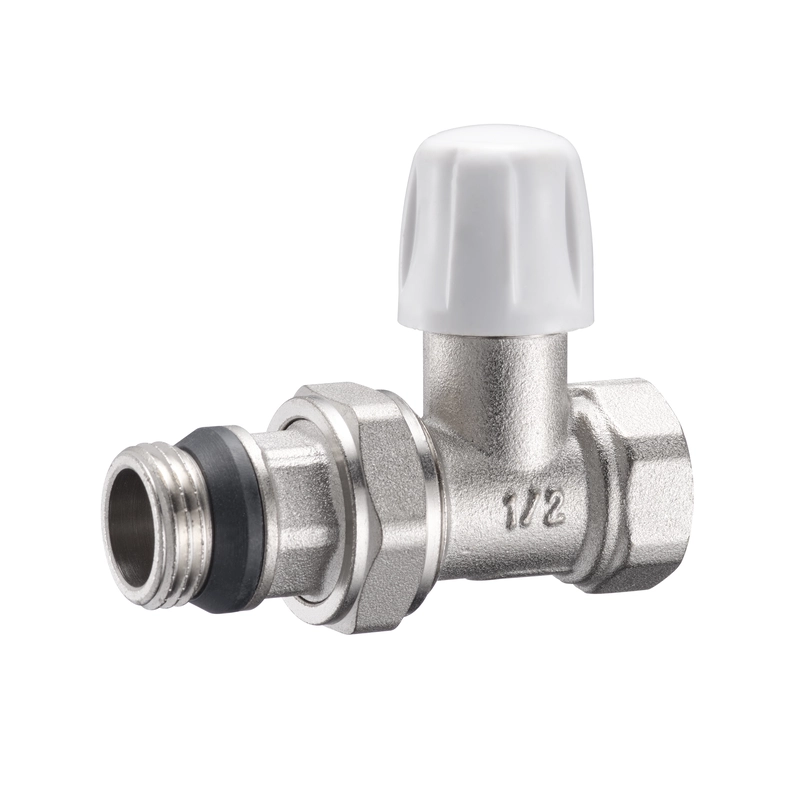
Use appropriate fittings to connect supply and return lines to the manifold ports. Apply proper sealing techniques such as PTFE tape or thread sealant to prevent leaks. Install isolation valves for each branch to allow independent control. Ensure all connections are tight but not over-torqued, which could damage threads or compromise seals.
Step 5: Integrating Controls and Sensors
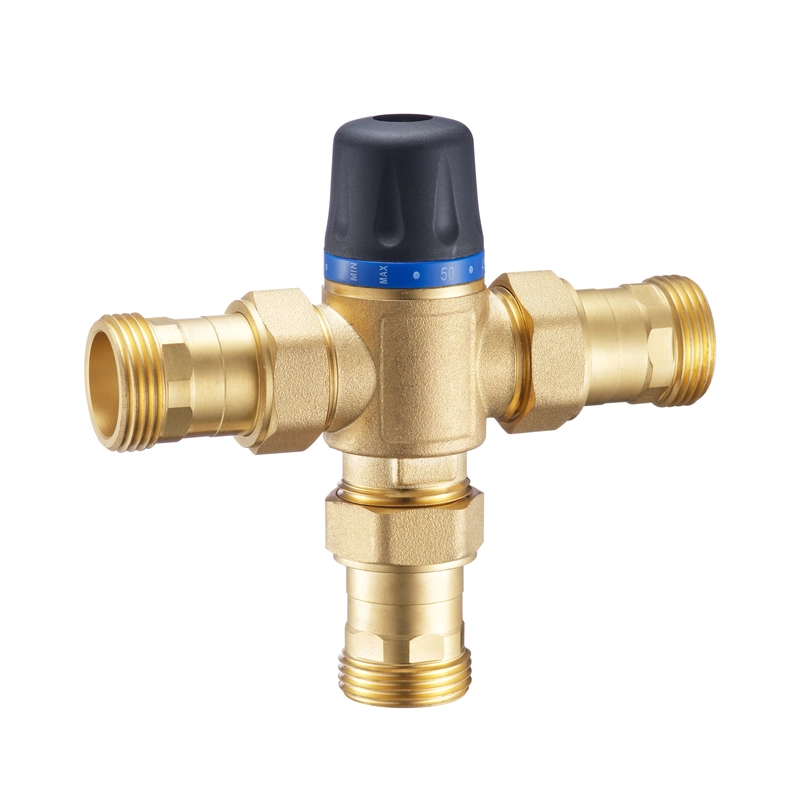
Connect thermostatic valves, flow meters, and pressure gauges to monitor system performance. If integrating with a Building Management System (BMS), ensure correct sensor calibration and communication lines. Smart controls allow precise zone management, energy savings, and real-time monitoring, reducing operational risks and improving occupant comfort.
Step 6: Balancing the Manifold System
Once piping and controls are installed, balance the system by adjusting flow rates for each branch. Use flow meters and pressure readings to achieve uniform distribution across zones. Proper balancing ensures all areas receive consistent temperature control, prevents overloading of pumps, and enhances overall HVAC efficiency.
Step 7: Testing and Commissioning
Conduct a thorough inspection and pressure test to identify leaks or installation errors. Verify that valves, sensors, and flow meters function correctly. Commission the system according to manufacturer guidelines, documenting settings for future reference. Regular testing confirms reliability, reduces maintenance issues, and ensures compliance with operational standards.
Step 8: Maintenance and Long-Term Support
Schedule periodic inspections to check for wear, leaks, and flow imbalances. Clean strainers, inspect valves, and recalibrate sensors as needed. Reliable manufacturers provide manuals, technical support, and replacement parts to maintain system efficiency. Proactive maintenance extends the lifespan of the manifold and safeguards building comfort and energy performance.
Proper manifold installation guarantees energy efficiency, reliable performance, and minimal maintenance for commercial HVAC systems.
References: Based on Jinyi HVAC company profile and commercial HVAC best practices.